Showing posts with label photography. Show all posts

Sunday, May 6, 2018

Reflection Photography

Creating reflections is a really neat way to get interesting and creative photographs. You create reflections in photographs by using reflective surfaces - such as mirrors, water, or windows. The easiest way to do so would be to use a mirror though, as this is the item that is the most easily accessible. Below are a few examples of creating reflections in my photographs!


Here are my top 3 tips for taking reflection photographs:
1) Try to make sure that the surface you are using is fairly clean of scratches and smudges so that the image looks cleaner.
2) If you are aiming to take reflective photographs of the sky, it would be better to do so on a somewhat cloudy day so that you have more to work with. This also work if you are taking reflective photographs of water, the clouds reflecting in the water could be gorgeous.
3) You can also get some creepy reflective portraits, if that is what you are into. There was a photograph I had taken a while ago that I used previously, I'll insert it below, that was a selfie using  mirror. This photograph is weird, but it is also pretty cool. 
 

Sunday, April 29, 2018

Posing Tips

This week, we will go through some tips I have when it comes to posing. First and foremost, location is an extremely important thing to think about when considering taking portraits. For the purpose of this shoot, we went to Wickham Park in Manchester, CT. You want a place that will look good in the background of a photograph in order to make the photograph as a whole look good. In regards to poses, I will go through the ones I use most below.

The first one would be where you have the model stand facing away from you and have them look over their shoulder:
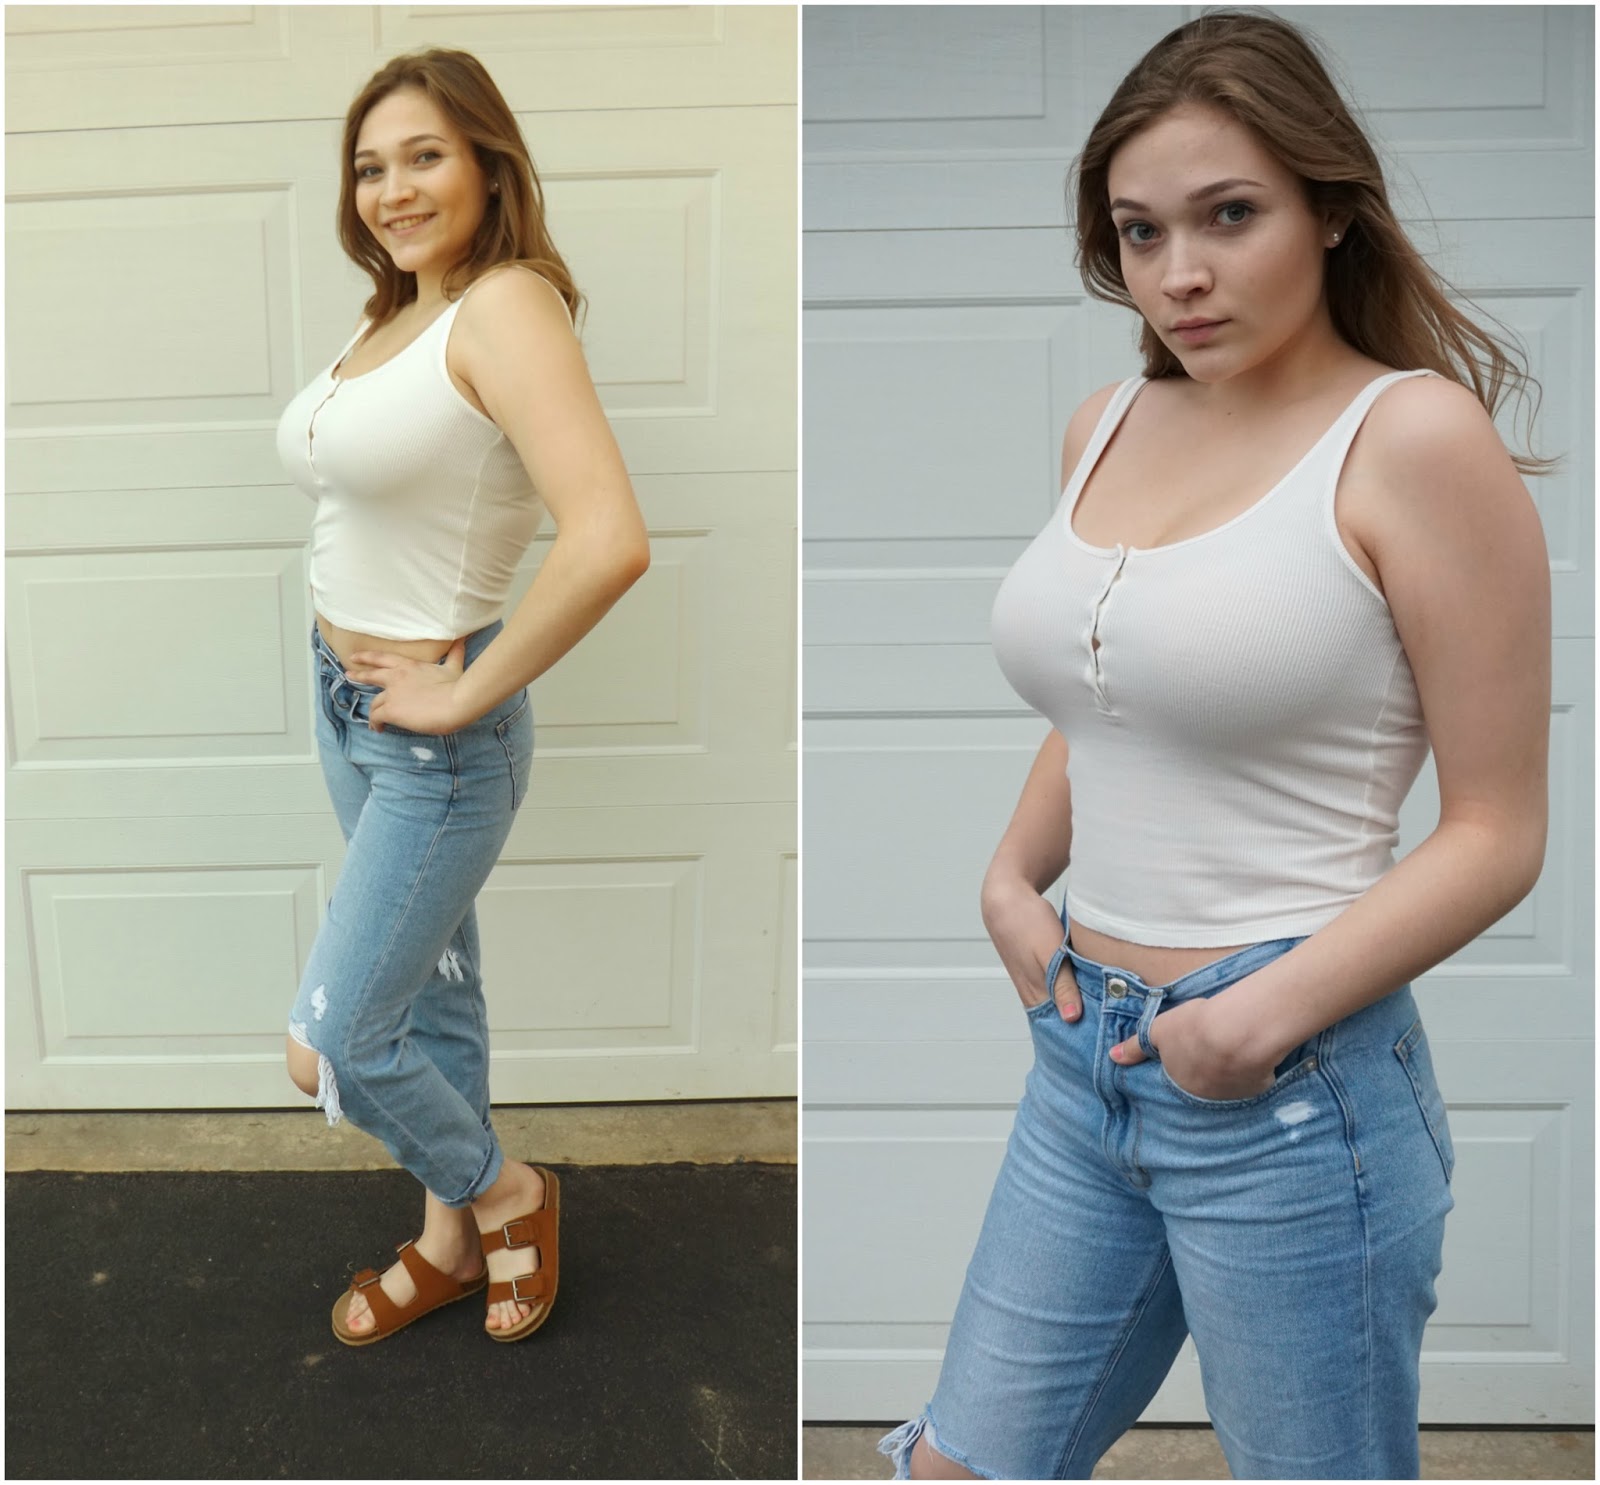
The second one would be one that I use most often, standing either at a side angle or straight ahead with the model's hands on her/his hips and the knees bent slightly:
The third would be along the same lines as the second, but the model hooks their thumbs in their belt loop:
The fourth one you have the model sit criss cross applesauce on the ground and they can either leave their hands in their lap, or pose their arms such as Emily is below:
The fifth brings the knee bend back, but the arms/hands are resting on the legs instead of on the hips:
The sixth tip would be to have the model pose with their surroundings, below we used a picnic table and a budding flower tree:
 Lastly, try to have the model relax their joints as much as they can so that they don't appear to be too stiff.

Sunday, April 22, 2018

Experimenting With a Portrait Lens

This week my new lens came in, so I decided to have Brady pose for photographs to test it. This lens is 35mm and I was told it is perfect for portraits. After experimenting a bit, I found this to be true. The portraits I took of Brady look crisper and clearer than ones I have taken previously, even on the same camera (with the other lens). One thing I also liked with this lens is that in some of the photographs, the background becomes blurred out and the focus is on the subject in the foreground.

Sunday, April 15, 2018

New Camera, Better Quality?

Yesterday I decided to take the leap and get a new camera, so for this week's blog I wanted to compare photographs from my old camera to ones from the new camera to see if they were improved or not. I tested some different poses, subjects, and lighting situations to see which one is best. A little background, the camera I used previously is a Fujifilm Finepix camera. Now, this camera did provide me with a few good years, but there was some flaws that became apparent with it over the years. For one, you can't change the lens on that camera, so you are stuck with limited zoom. If you zoomed in too far, photographs became too blurry. Also, the problem I liked the least is that this camera performed terribly in low light situations, no matter what you did to the settings. The new camera I bought yesterday is a Sony a6300. This camera has an interchangeable lens (I ordered an extra one, so when it comes in I will experiment with that and potentially do a blog post for it as well) and one thing I really loved about this camera is that you can adjust the settings right on the screen by turning the dial. This helps you to see what the photograph would look like in each setting and allows you to perfect the shot before you actually shoot it. Now, on to the comparisons. Keep in mind that I did not edit the photographs below in order to have raw untouched images from both cameras. On the left will be shots from the old camera and the right will be the new.
You can see with the old camera, the coloring has a slightly yellow tone to each photograph. However, with the new camera the coloring is more true to real time. The photographs from the new camera appear to be more crisp and clear as well. While I still have to experiment more with the new camera and all of its settings, my first impression of it is that it does produce higher quality photographs, especially in low light settings as evidenced by the last set of comparison photographs.