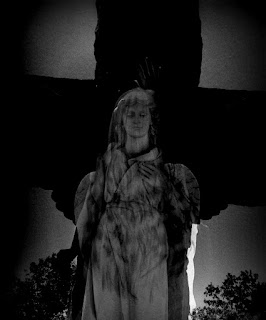
A double exposure is when you essentially blend
two different images together to create one (mostly seamless) image. Even
though this seems like a really hard project to master – it’s not! The easiest
way that I have found to create a double exposure is to use the Picmonkey photo
editor. What you do is choose your base image, then go to the left where all
the editing tools are and look for the textures tool. Click on that, and then
you can either choose your own pattern with another photograph, or you can use
one of Picmonkey’s patterns – the photographs I have worked on show a mix and
match of my own versus Picmonkey patterns. The Picmonkey patterns are the ones
that have the galaxy print on them.
Here are my top 2 tips to achieve a double exposure image –
1)
When thinking about what images you want to use, you want to
make sure they mesh well together. This makes sure that they appear to be one
solid image, not two images mixed together. You can see this mostly with the
waves photograph above – it appears to be one image but it is actually two separate
images.
2)
In the editor, once you have combined your two images, you can
move the overlay around a bit if you need to or you can even change the way it
appears by clicking on the drop down that appears when you put the second image
on top of the base.


No comments:
Post a Comment